.svg)
.svg)


If you’re a small business owner looking to accept crypto payments on your website to expand your customer base and streamline your payment processing, accepting blockchain payments on your website may be worth considering.
According to a 2022 report by Checkout.com, more than 75% of merchants who accept crypto payments celebrate increased sales globally. Unsurprisingly, around a quarter of all online businesses are looking to embrace crypto payments by 2025 – a number that will only grow as the benefits become widely known.
- How to Install MetaMask
- How to Secure Your MetaMask Wallet
- How to Set up a Crypto Exchange Account
- How to Send Crypto from MetaMask to an Exchange
- How to Send Crypto From Exchange To Your Bank Account
Compared to traditional point-of-sale (POS) systems, accepting crypto payments offers several benefits, including lower transaction fees, merchant protection from fraudulent chargebacks, increased sales potential, and increased customer convenience. Additionally, there is a level of anonymity with crypto payments that some merchants and customers may find appealing.
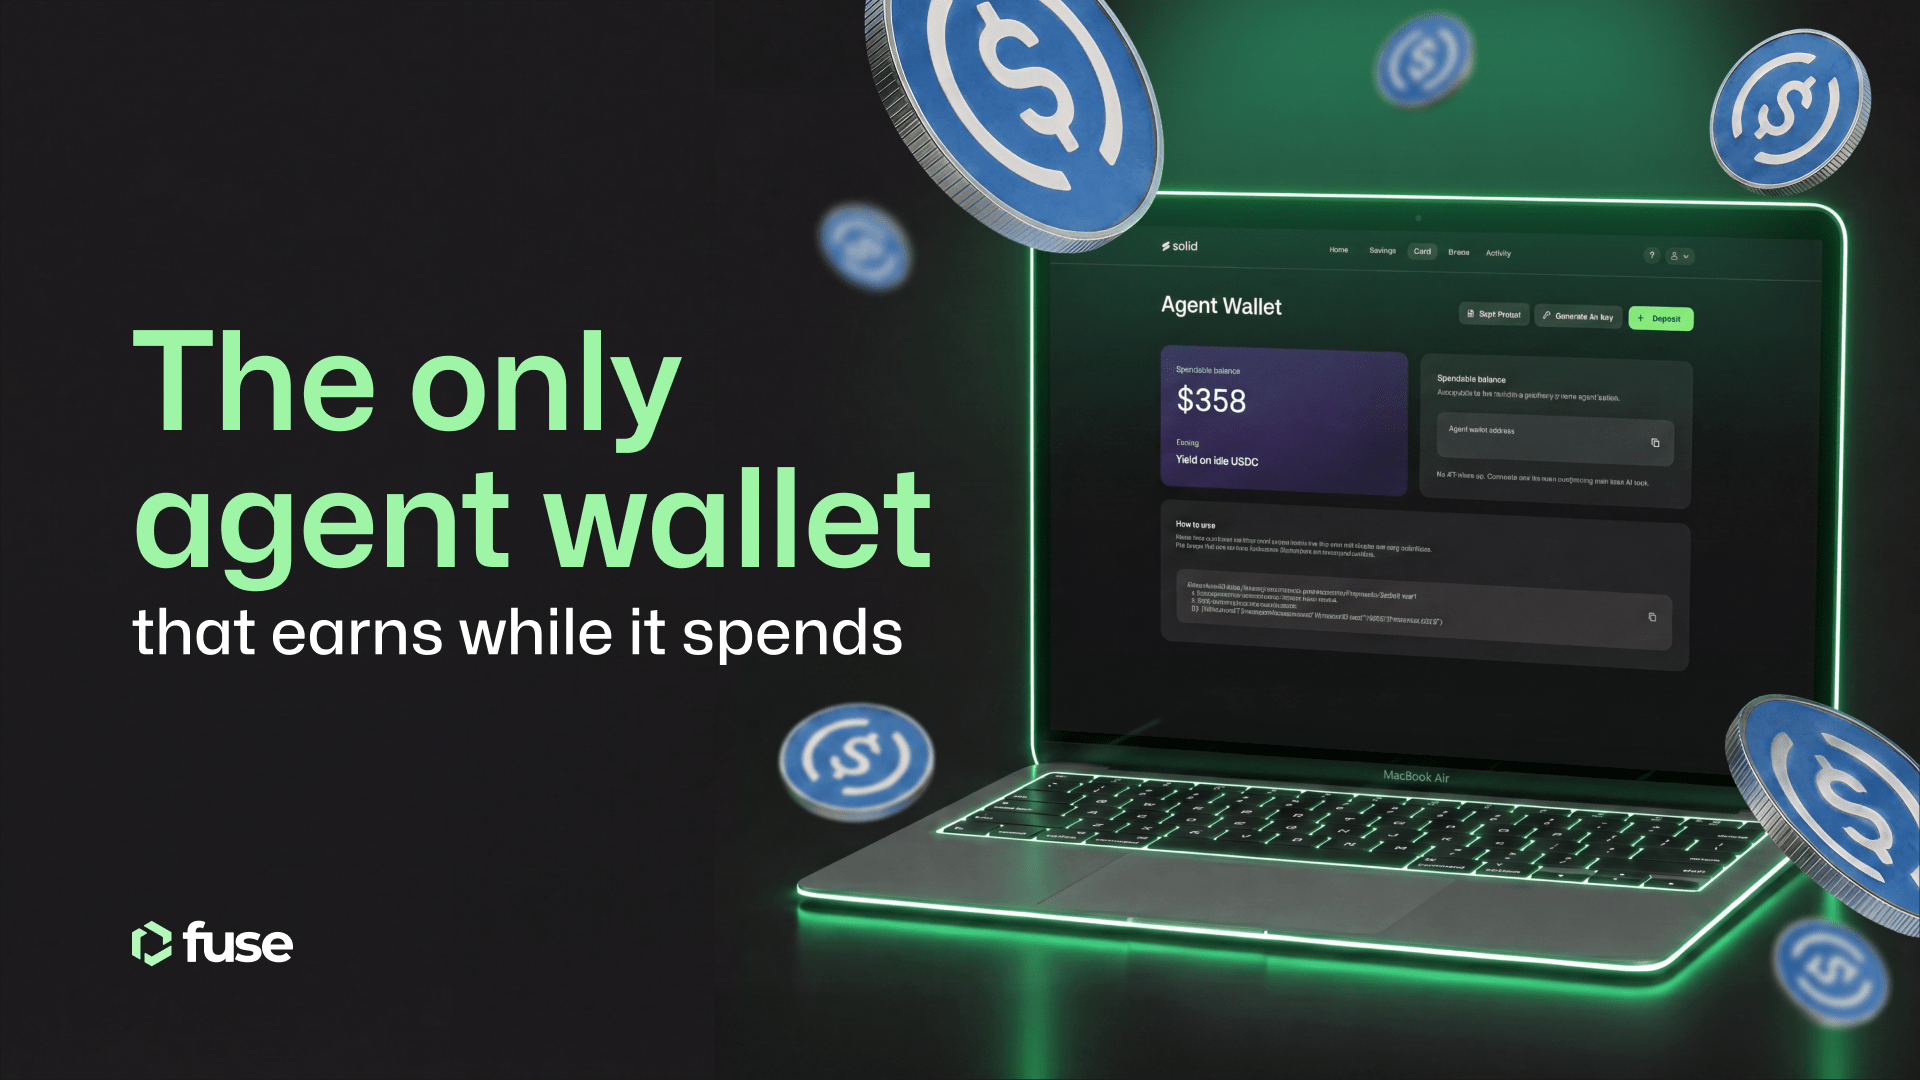
Using the Fuse SDK, more profound ways exist to integrate cryptocurrency payments into existing applications and bring a wealth of loyalty and financial services.
How to accept crypto payments on your website
Accepting payments manually requires adding functionality to your website and taking steps to withdraw the crypto funds from your wallet to an exchange account, exchange them for dollars, and transfer them to your business bank account.
Regarding adding functionality to your website to accept crypto payments, you can employ various methods with levels of complexity regarding stock control and orders. But in a nutshell, you can provide a QR code or wallet address for customers that they scan using their blockchain wallet and use to send you cryptocurrency.
This address or QR code is in your MetaMask app under the Account Details section.

Accepting cryptocurrency payments to your small business manually is a bit more complicated but not unthinkable. Let’s dive in!
Install MetaMask
Metamask is a cryptocurrency wallet that allows users to store, manage, and interact with cryptocurrencies and decentralized applications (dApps) that run on the blockchain. It can be used as a browser extension or mobile app.
The fastest way to start accepting cryptocurrency payments for your small business is to set up a MetaMask wallet. Then, install the Fuse RPC so that transactions are processed on Fuse. Operating on a network like Fuse means you and your customers can access the world’s leading stablecoin, USDC, and lightning-fast transactions for under one cent.
Use this guide to set up your new MetaMask wallet and add the Fuse Network RPC in a few minutes.
Secure Your Metamask Wallet
Metamask is a non-custodial wallet, which means only you have exclusive access to it and the assets stored. Therefore, you must set a password and store your secret recovery phrases during account creation. If you lose them, you will lose access to your MetaMask account indefinitely.
It’s advised to keep several hard copies of this information and not keep it on a cloud-based storage system like Google Docs. However, don’t take this lightly. You can read our complete guide for more information on non-custodial and custodial wallets.
Setup A Crypto Exchange Account
This step will depend on your geographical location regarding which exchange will be most suitable for you. Coinbase, Crypto.com, and Etorro are robust exchange options, and Kraken and Binance are well respected.
The main reason you open an exchange account is to facilitate the off-ramping of crypto to fiat. You will be taking payments in cryptocurrency but will still need to get this money out to your regular business bank account.
In short, you can send your crypto from your Metamask wallet to your exchange wallet, swap the crypto for fiat, and then send the fiat to your bank account. Finally, connect a bank account to the exchange before attempting the below for easy and fast withdraws and deposits.
N.B. It’s important to note that these transfers will incur fees, so making them monthly or quarterly rather than daily is better.
Send Crypto From Metamask to an Exchange
This example will send USDC stablecoins from Metamask to Crypto.com, swap the USDC crypto for fiat, and send it to a bank account. The process will be highly similar in whatever exchange app you choose.
In this example, we are sending USDC as this is the most likely currency you will accept crypto payments because it is pegged to the US dollar and will not fluctuate in value.
N.B. Ensure you are connected to the Fuse Network by using the network switcher at the top of MetaMask.
Step 1: Open your crypto exchange app and find USDC in the asset list.
Step 2: Click transfer, then select deposit.
Step 3: At the bottom of the screen, you will see a wallet address starting with 0x, copy that address. Make sure you transfer using ERC-20 if it’s an option.

Step 4: Open up your MetaMask wallet.
Step 5: Select USDC from the assets in your crypto wallet and click on it.
Step 6: Click on Send.
Step 7: Enter the wallet address you copied from your exchange app into the box at the top.

Step 8: Select how much USDC you want to send to the exchange account. If all of it, select max.

Step 9: Check the amounts and wallet addresses are correct. You will also see that gas fees on Fuse are negotiable and, in most cases, dont even add up to 1 cent.
Step 10: Click Next and Confirm the transaction.
Send Crypto From Exchange to Your Bank Account
The funds are on their way to your exchange account and usually arrive in a few minutes. You can swap funds for fiat once the funds arrive in your exchange account.
Step 1: Locate your USDC account in the exchange and select Sell USDC. Select Cash.
Step 2: Select your connected fiat bank account and enter the amount of USDC you wish to sell. If all, click Max.
Step 3: Click swap and accept the fees. On average, swapping from a stablecoin like USDC back to cash will incur an exchange fee of around $20.
Step 4: The fiat will end up in your Fiat Wallet on the exchange. Open the wallet, click Transfer, click Withdraw, and select your bank account.
Step 5: Initiate the transfer. The funds should arrive in your account within a few minutes.
That’s it! The funds have been transferred from your blockchain wallet to your exchange account, swapped to fiat, and sent to your bank account.
From this point, you can declare the income as usual and pay your appropriate taxes, business expenses, and fees. This article covers the quickest and easiest way to get set up to accept crypto payments.
In summary
For a more robust integration through an existing mobile app or e-commerce website – contact us today and tell us more about your needs and explore the possibilities available through Fuse APIs and the wallet SDK.
To get a more in-depth overview of the key benefits of accepting crypto and Web3 payments for businesses and merchants, you can watch Episode 2 of the Fuse Podcast ‘Tech Beardos’. You can also read our 2023 Ultimate Guide to Web3 Payments.
In this second episode, Ian and Luka dive headfirst into crypto and Web3 payments for merchants and businesses. They dispel many myths and fears about the topic and explain how businesses can adopt crypto payments today!