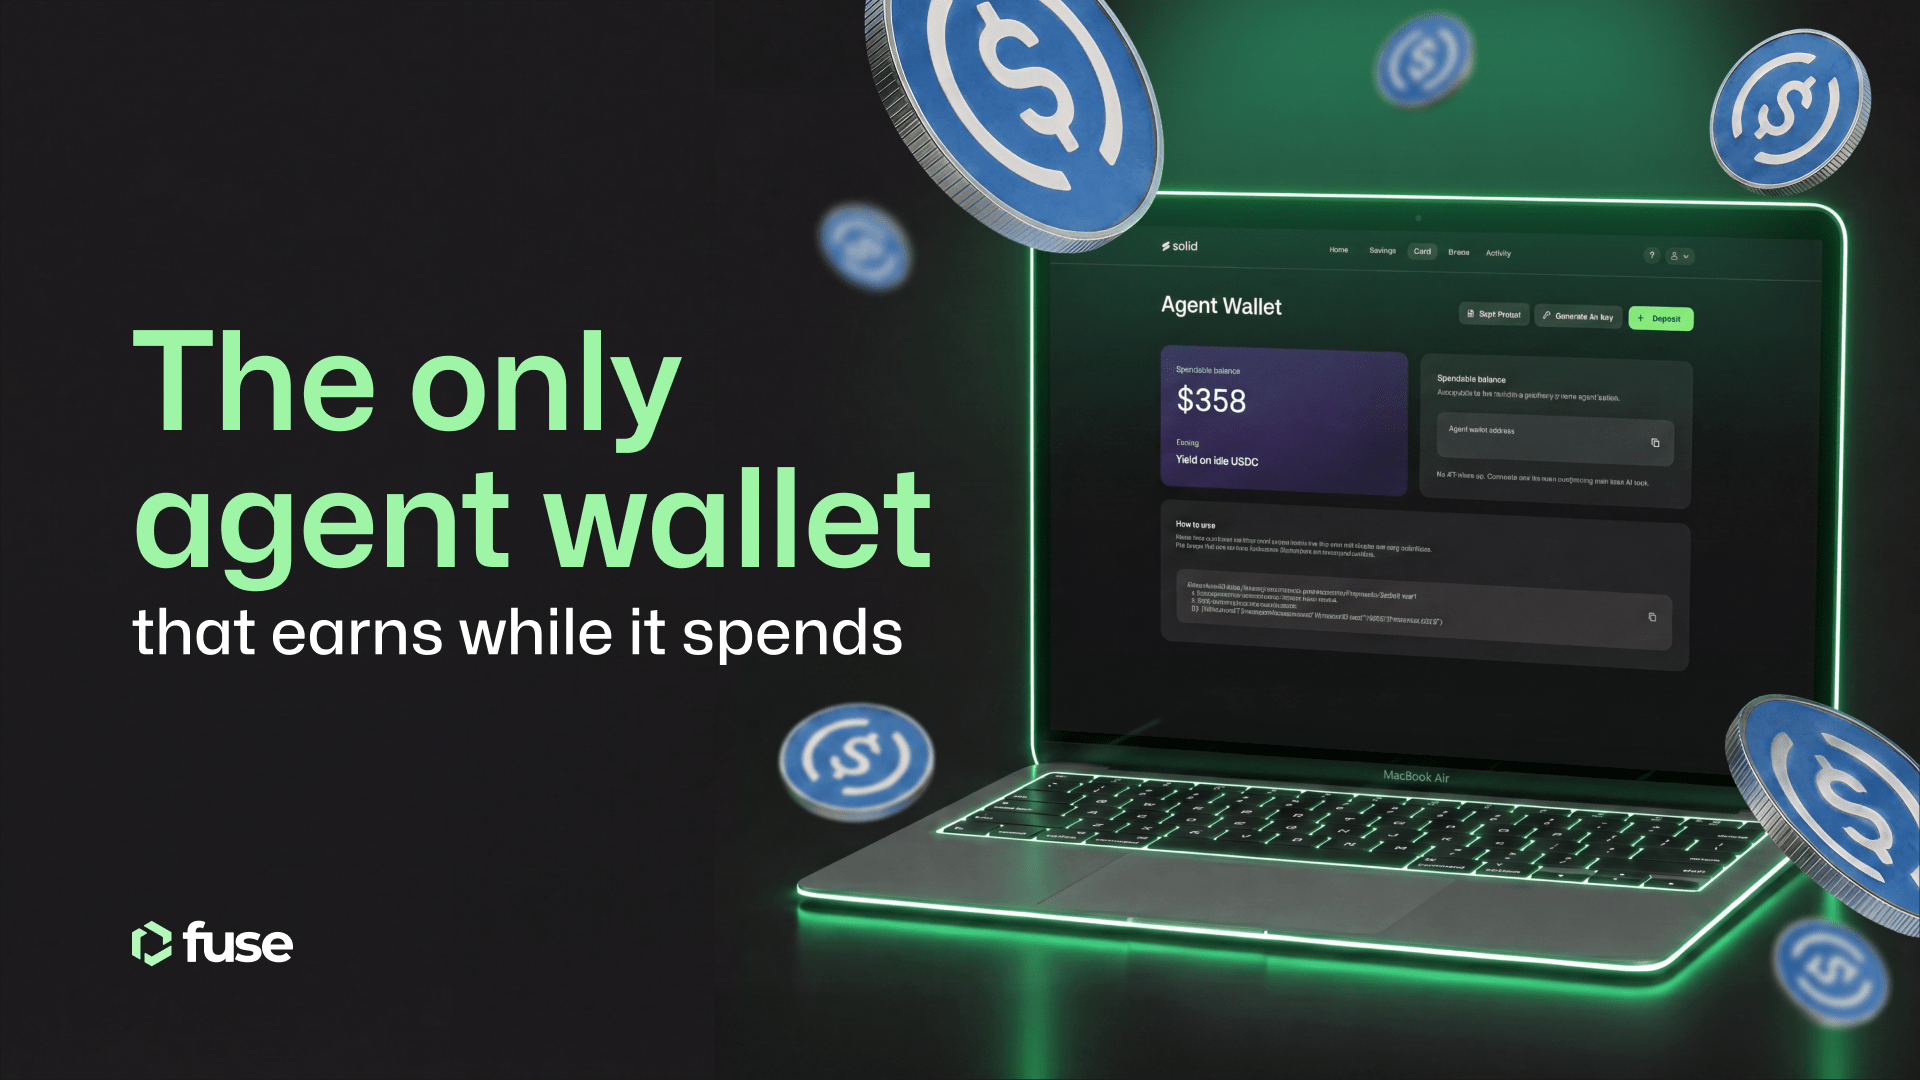
.svg)
.svg)


Learning how to bridge and swap crypto assets between various blockchains is an essential Web3 skill, and multiple protocols attempt to streamline the process. In the Fuse Ecosystem, Jumper Exchange stands out as a platform with excellent wallet connectivity, an easy-to-use UX, and cost-effective, efficient transactions.
Cross-chain protocols like Jumper Exchange enable the seamless transfer of assets and liquidity between different blockchain networks. This expands the market access for DeFi participants, allowing them to tap into broader support and opportunities.
With cross-chain interoperability, users can access decentralized applications (dApps) and financial services across multiple chains, thereby increasing liquidity and fostering a more vibrant and interconnected DeFi ecosystem on Fuse.
Fuse Network integrates with Jumper Exchange’s big sister and business-facing product Li. Fi to offer developers in the Fuse Ecosystem the best way to integrate cross-network swaps and token transfers into their DeFi, NFT, and gaming apps.
For community members looking to swap tokens or bridge and swap crypto tokens from one chain to another, this guide will show you how to use Jumper Exchange.
Let’s say you want to swap your Fuse tokens on Fuse Network to Fuse on Ethereum. Or MATIC on Ethereum to MATIC on Polygon. It’s all possible in just a few clicks using Jumper Exchange.
👇 When Fuse met Li.Fi (Jumper Exchange) on Youtube 👇
What is Jumper Exchange?
Before we dive in, let’s look at the vital stats of the Jumper Exchange. The DeFi protocol supports over 15 blockchains, including Ethereum, BNB Chain, Polygon, Fuse, and Avalanche. With over 25 different wallet connect options, including Metamask, Coinbase, and Wallet Connect, you will have no issues connecting. Furthermore, the Jumper Exchange’s Gas checker feature is convenient.
Platforms like Jumper Exchange are vital for the excellent health of the Fuse DeFi ecosystem as they allow crypto token holders to access multiple networks and the opportunities there. Moreover, as high gas fees on the Ethereum network persist, many traders and dApp users look to move their transactions onto Layer 1 or 2 protocols, like Fuse, to save money on fees and speed up transfers.
In this guide, we will cover the following:
- Getting started in Web3
- Swapping tokens on the same chain
- Swapping tokens from one chain to another
- Get crypto with fiat on Jumper Exchange
Getting started!
The first thing to do is navigate to the Jumper Exchange website and connect your Web3 wallet.
If you dont have a Web3 wallet, use this guide to set one up.
Jumper Exchange: https://jumper.exchange/gas
In this guide, we connect to Jumper Exchange using a Metamask non-custodial wallet. Click in the top right corner and connect your wallet. You know you are successfully connected when you see the Metamask and Ethereum icons in the top right corner.

Swapping tokens on the same chain
Click the top box that says ‘Select chain and token’

Select the network you wish to SEND the token from. In this example, we will choose Ethereum.

Click the icon of the chain you want to send tokens from. Below is a list of the tokens in your Ethereum wallet, which is auto-detected. Choose the token you wish to use. In this example, we will select MATIC.

Now we need to choose the crypto we want to swap MATIC to. Click the second box labeled ‘To.’ Choose the crypto you want to swap to. In this example, we will swap MATIC for ETH. You must decide the amount once you select the asset you want to swap.

In the bottom box, you can select the max amount of MATIC in your wallet to swap or select a custom amount. Once you add the number, the platform will calculate the fees and outcome. In this example, we are swapping 200 MATIC.

The platform now displays the different available routes to make your token swap. Conveniently it tells you the expected gas fee, the number of steps required, any additional fees, and the time the transaction will take.

Choose the route you want to use and click on it. The screen will change again and show you the Swap route and outcome. We are swapping 200 MATIC, which is approx $129. Using 0x router, the gas fee is expected to be around $10, and the outcome is that we would receive 0.0737 ETH, or around $127.98.
If you agree with the terms – click ‘Start Swap’.

Using a Metamask wallet will prompt you to set a custom spending cap. This is the number of tokens you are letting the Jumper Exchange have access to.
Clicking MAX will set the amount you wish to exchange, i.e., 200 MATIC. However, if you want to send more later, you will have to pay for another approval, so it’s better to set it higher, say 1000 MATIC.

Click next, and then you must pay a small gas fee to allow Jumper Exchange access to your MATIC tokens. In this example, the fee was just over $1.

You will now be redirected back to Jumper Exchange, where it is processing your token approval request.

Once completed, Metamask will reappear and ask you to pay the final gas fee to swap MATCI for ETH. The fee in this example is very close to the expected fee of around $10.

Click confirm, and the transaction will begin processing. You will be 200 MATIC lighter and 0.0737 ETH heavier in a few minutes. Paying about $15 in fees to complete the entire process.
Swapping tokens from one chain to another
With so many blockchains, interoperability becomes vital. One day, users will be able to navigate blockchain spaghetti easily, but we are taking baby steps towards perfect ‘Web2-esque’ UX in DeFi.
Arguably, one of the main attractions of platforms such as Jumper Exchange is the ease with which users move tokens quickly across major EVM chains.
One main reason for moving tokens to another chain is to benefit from lower trading transaction fees. Another benefit is token discovery on other networks away from Ethereum.
Click the top box that says ‘Select chain and token’
Select the network and token you wish to SEND. In this example, we will choose FUSE on the Fuse blockchain.

PRO TIP: If the token you want to swap doesn’t appear with a text search. Head to a site like CoinGecko to find the contract address. Copy the contract address into the search and then select the token.

Now select the chain you wish to swap the token to. We will swap FUSE on Fuse Network to USDC on Ethereum.

In the bottom box, you can select the max amount of USDC in your wallet to swap or choose a custom amount. Once you add the number, the platform will calculate the fees and outcome. In this example, we are swapping 10,000 FUSE.

NOTE: Cross-chain swaps involve multiple platforms, so they usually cost more in fees. The beauty is that Jumper Exchange is abstracting away a lot of the hassle of navigating multiple platforms for the end user.
The platform now displays the different available routes to make your token swap. Conveniently it tells you the expected gas fee, the number of steps required, any additional fees, and the time the transaction will take.

In this instance, there is one route for the token transfer. Double check everything is correct and that you accept the fees.
We are swapping 10,000 FUSE, which is approx $606. Using Multichain to first bridge FUSE from Fuse Network to Ethereum, then swap that FUSE on Ethereum for USDC. The gas fee is expected to be around $24, and the outcome is that we would receive 589 USDC.

If you agree with the terms – click ‘Start Swap’
Using a Metamask wallet will prompt you to set a custom spending cap. This is the number of tokens you are letting Jumper Exchange have access to complete the transaction.
Clicking MAX will set the amount you wish to exchange, i.e., 10,000 FUSE. However, you must pay for another approval to send more later.
Click next, and then you must pay a gas fee to allow Jumper Exchange access to your FUSE tokens.
Click confirm, and the transaction will begin processing. Your 10,000 FUSE on Fuse Network has been swapped to USDC on Ethereum. Paying about $25 in fees to complete the entire process.
Get crypto with fiat on Jumper Exchange
Onboarding into crypto can be a pain, but using Jumper Exchange, users can onboard from their native currency into several cryptos using Apple Pay, Google Pay, SEPA, or a Credit Card.
Click the ‘Buy’ tab at the top of the screen and select your native currency. Please note that onramp options can alter once you select your native currency.

Now select the cryptocurrency you would like to get.

We want to swap 100 euros for ETH and use a credit card in this example. Payfura facilitates the swap, and once you click Buy ETH, the window will redirect to their service for you to complete you transaction.

Now you can assess the processing and swap fees and decide whether to proceed. Any crypto purchased will be transferred to the wallet you are connected t Jumper Exchange with, i.e., Metamask.
Cross-chain DeFi on Fuse
Cross-chain protocols such as Jumper Exchange revolutionize how assets and liquidity flow effortlessly between diverse blockchain networks. By transcending boundaries, they empower DeFi participants to unlock an expansive realm of support and boundless opportunities.
Cross-chain interoperability gives users unparalleled access to decentralized applications (dApps) and financial services spanning numerous chains, magnifying liquidity and nurturing an interconnected DeFi ecosystem on Fuse.
Ecosystem partners who are interested in learning more about Li.Fi and how to integrate their decentralized trading services into their applications can contact them directly or contact us for more information.